Branding should make customers confident that they are dealing with their internet provider. The workspace identity controls more than a heading: it influences the portal, app presentation and customer communication. Review the complete customer journey after saving visual changes.
Before you start
Open /brand-domain?tab=appearance in the workspace you intend to manage. The workspace name determines which routers, subscribers and records you can see. These screenshots use Acacia Internet, a fictional training workspace. Names, phone numbers, addresses, account counts and money shown are demonstration data; do not copy them into a live customer record. Your available controls depend on your role, plan and configured integrations.
1. Open Brand appearance
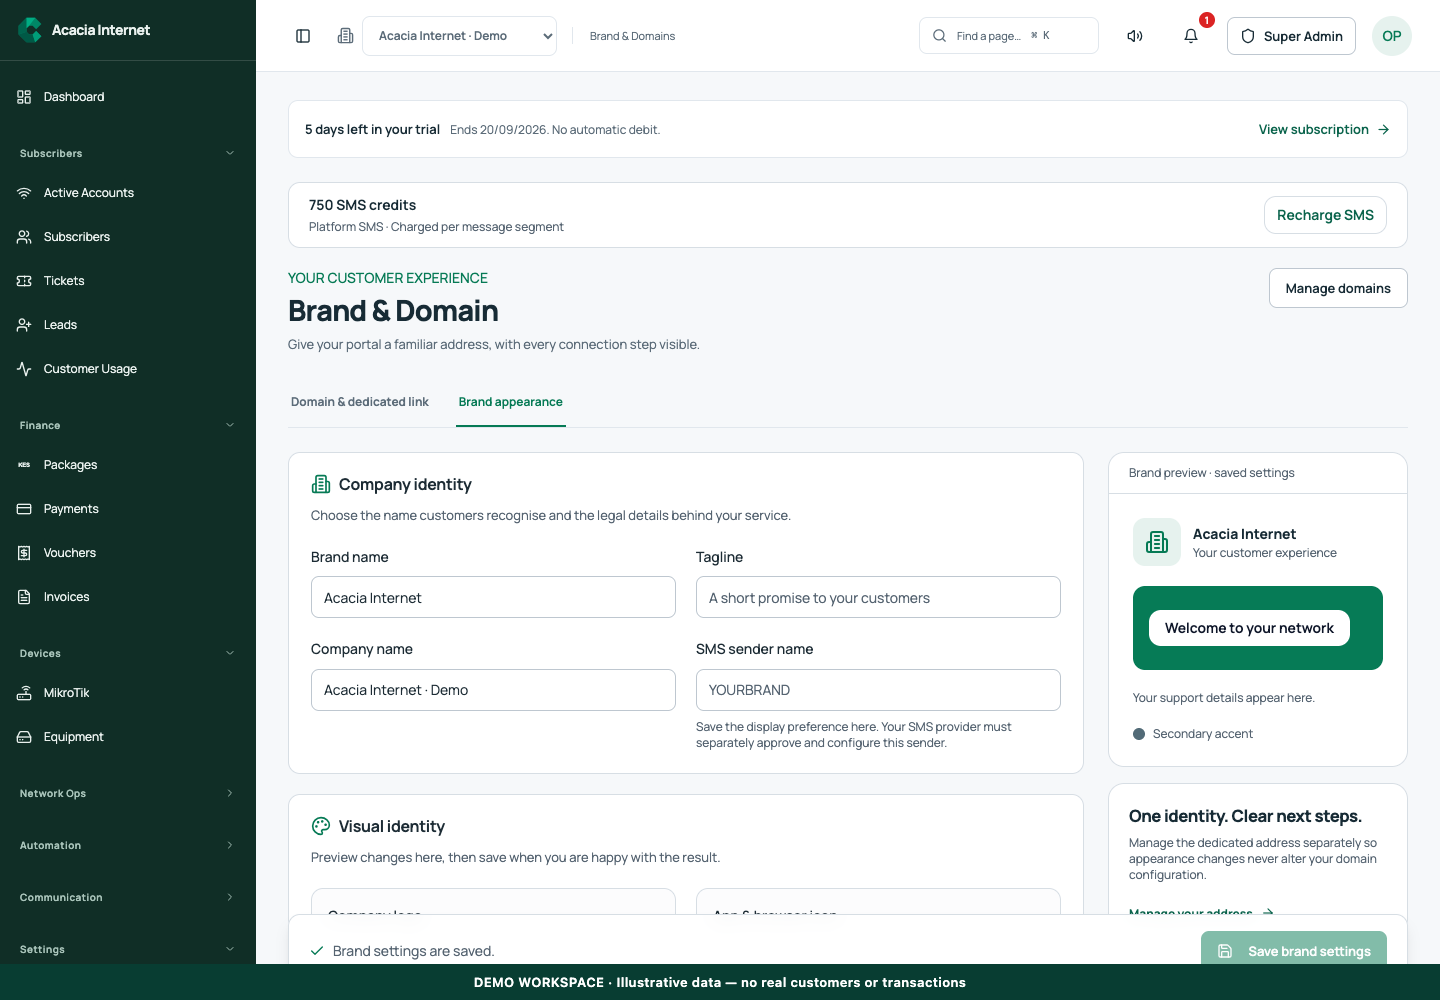
Go to Settings and choose Brand & identity, or open Brand & Domain and select Brand appearance. Check the workspace name before editing. The page separates company identity, visual identity and a saved-settings preview. Keep a copy of your approved logo and brand colours so staff can maintain a consistent appearance rather than choosing new colours on each visit.
2. Enter company and customer-facing names
Set the brand name customers recognize, the company name and a concise tagline where provided. Keep legal and customer-facing details accurate. The SMS sender name field is a display preference; the SMS provider must separately approve and configure an actual sender identity. Saving a name in branding does not register it with a telecom provider.
3. Upload a clear logo
Use the logo upload control and follow the recommended dimensions, file types and maximum size printed next to it. Prepare a transparent or clean-background image that remains readable at small sizes. Avoid a logo that contains tiny contact text, because that text will become illegible in headers and emails. Inspect the preview after uploading before committing the change.
4. Upload a separate square app icon
Use the app or browser icon control for a square mark designed to work at small sizes. Do not simply stretch a wide wordmark into a square. Follow the dimensions shown in the interface and leave appropriate space around the mark. The icon can appear in installed-app or browser contexts, but a recipient mailbox avatar is controlled by that email provider and is a separate matter.
5. Choose readable colours and working support details
Set the primary and secondary colours available to your plan, then check buttons, links and text against their backgrounds. A bright brand colour is not useful if the button label cannot be read. Update support phone, email and other customer-facing details in their relevant settings. Test the destination of each link rather than assuming the displayed text is enough.
6. Save and verify outside the admin screen
Choose Save brand settings and wait for the saved confirmation. Open the default portal or verified custom domain in a separate customer session. Review the login screen, portal header, mobile layout and applicable message previews. Installed apps and cached pages may need a refresh before new assets appear. Confirm the correct brand on each host instead of relying only on the admin preview.
Confirm the result
Your logo should be sharp, the icon recognizable and the text readable on desktop and mobile. Check that the support details belong to the selected workspace and that white-label entitlements are respected. Save the original assets in your business files so future changes do not depend on downloading a compressed browser image.
Questions and troubleshooting
Why is a customization unavailable? Review the workspace plan and white-label permissions. Does uploading a logo change DNS? No; domain connection is managed separately. Why does an old icon still appear? Browser or installed-app caches may retain the previous asset; refresh and test a new session. Will this put a logo next to every email in Gmail? Not automatically. Mailbox identity features depend on provider-specific authentication and verification requirements.
Continue with the next task
Continue with custom domain connection and Hotspot Studio.
This guide describes the application reviewed on 15 September 2026. If a screen displays a warning, follow that specific message before continuing. For support, include the workspace, affected record, time of the attempt and the operation reference where available. Never include passwords, router command tokens, payment secrets or verification codes in a public support message.