Router onboarding connects a physical MikroTik to the workspace and prepares the customer network. It is a controlled installation, not just adding a name to a list. Allow time for the device to report progress and verify each stage before customers begin using the network.
Before you start
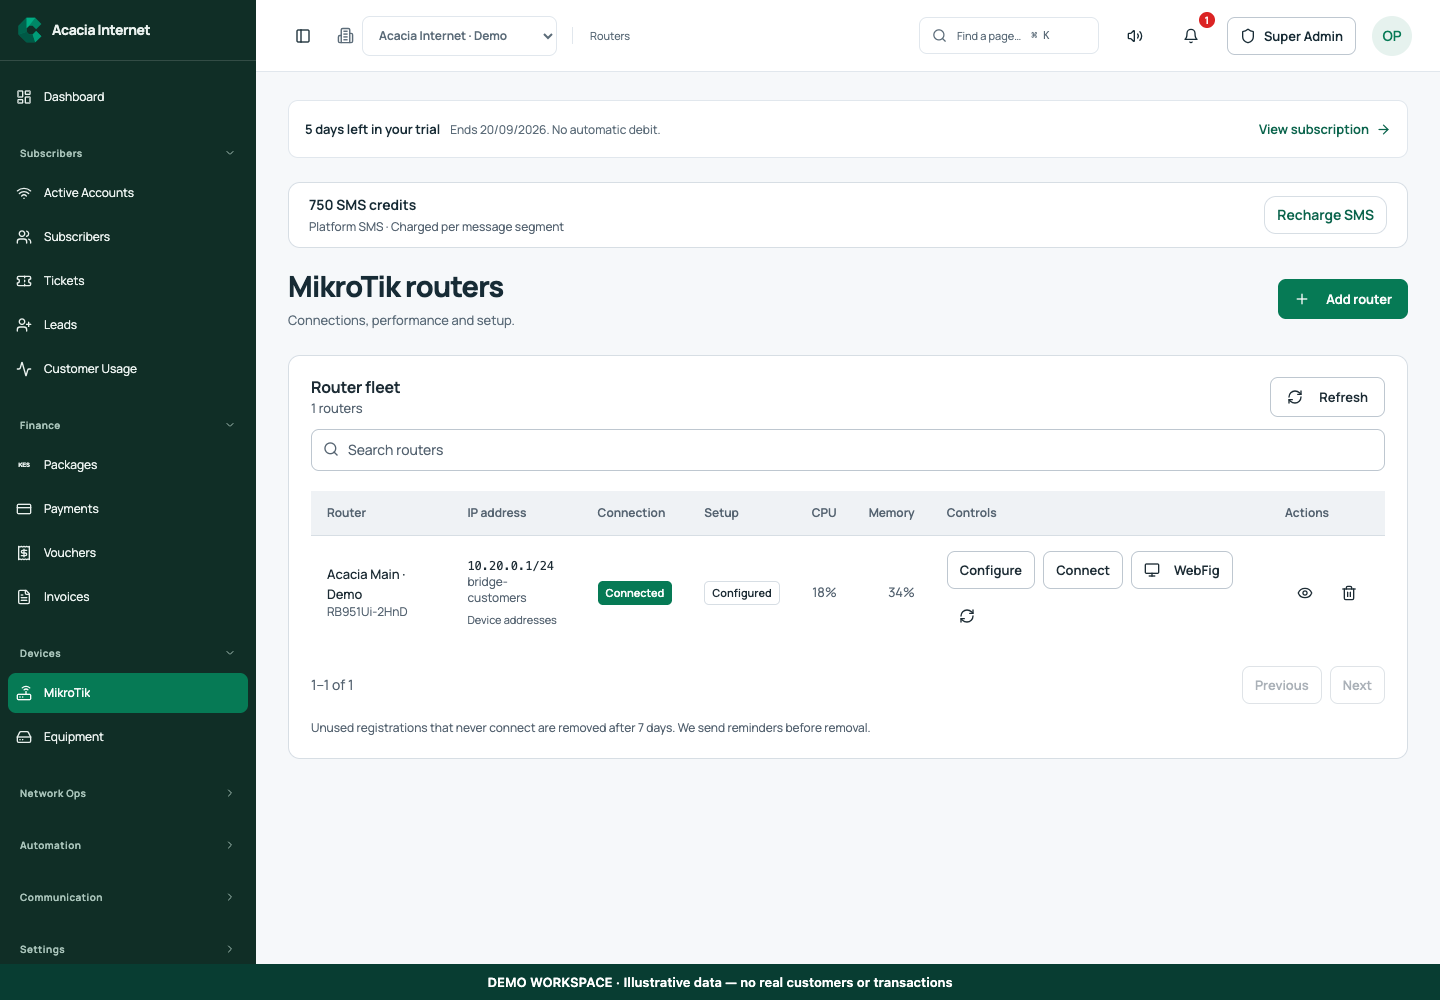
Open /routers in the workspace you intend to manage. The workspace name determines which routers, subscribers and records you can see. These screenshots use Acacia Internet, a fictional training workspace. Names, phone numbers, addresses, account counts and money shown are demonstration data; do not copy them into a live customer record. Your available controls depend on your role, plan and configured integrations.
1. Prepare the physical router
Use an updated MikroTik meeting the displayed RouterOS requirement, currently RouterOS 7.20 or newer. The router must have internet access and be prepared for a clean hard reset with no previous customer configuration. Before resetting a device already in use, preserve its backup and arrange a maintenance window. Keep a local connection available so you can inspect the device if its uplink fails during setup.
2. Register the device in the intended workspace
Open Routers and use the add-router action. Choose a clear identity such as a site or building name that technicians will recognise. Complete the fields requested by the form and open the generated setup flow. A registration record is not yet a working management connection. Do not reuse another site’s command: the generated enrollment information belongs to the specific registration.
3. Keep Clean customer setup selected
The recommended migration approach is Clean customer setup. Review the warning about reset state, existing configuration and internet access before proceeding. This approach prepares customer services intentionally; it is not a promise to merge arbitrary historic firewall, bridge and address rules. If you need to preserve a live production network, stop and plan that migration rather than pretending it is a clean router.
4. Run the generated command once
Open the MikroTik terminal using your authorized local administration method, then paste the command generated for this router. Keep the onboarding window open and watch the activity and verified-step indicators. Treat the command as sensitive enrollment material. Do not send it to customers or place it in a public screenshot. Repeated pasting can complicate recovery, so use the saved setup state before attempting another run.
5. Review detected interfaces before applying services
Check the detected internet interface and protected management interfaces against the actual cabling. Then review the customer interfaces selected for Hotspot, PPPoE or both. The suggested customer subnets must not conflict with existing reachable networks. If a protected interface appears to be a customer port, inspect your cabling and the detection evidence before accepting the plan.
6. Wait for verification and test a client
The progress view distinguishes activity, requested changes and verified completion. Allow the automated process to finish; it can take several minutes. When complete, open router details and confirm a recent connection report. Connect a test client on an assigned customer interface and test the appropriate access service. A successful installation dialog should be followed by a real client check, not used as the only proof of internet access.
Confirm the result
The router should appear in the fleet with the intended identity, a recent heartbeat and completed setup. Confirm that management access still works and that a test Hotspot or PPPoE customer reaches the expected login flow. Keep the router’s setup and operation references in your installation record for later diagnostics.
Questions and troubleshooting
What if setup pauses? Read the specific failed or review-required step. Refresh the saved status and inspect its recorded progress. Do not blindly repeat commands after an acknowledgement timeout. Does closing the browser undo setup? No. The device and backend retain operation state; return to the saved router setup to inspect it. Can I reset a router with paying users? Plan the outage, preserve recovery material and move or notify affected users first.
Continue with the next task
Continue with customer port assignments and router diagnostics.
This guide describes the application reviewed on 15 September 2026. If a screen displays a warning, follow that specific message before continuing. For support, include the workspace, affected record, time of the attempt and the operation reference where available. Never include passwords, router command tokens, payment secrets or verification codes in a public support message.