Adding a subscriber creates a business record and requests the relevant service configuration. The customer’s portal identity, payment status and PPPoE connection each have their own verification step. Follow this sequence to avoid confusing a saved customer form with a working internet connection.
Before you start
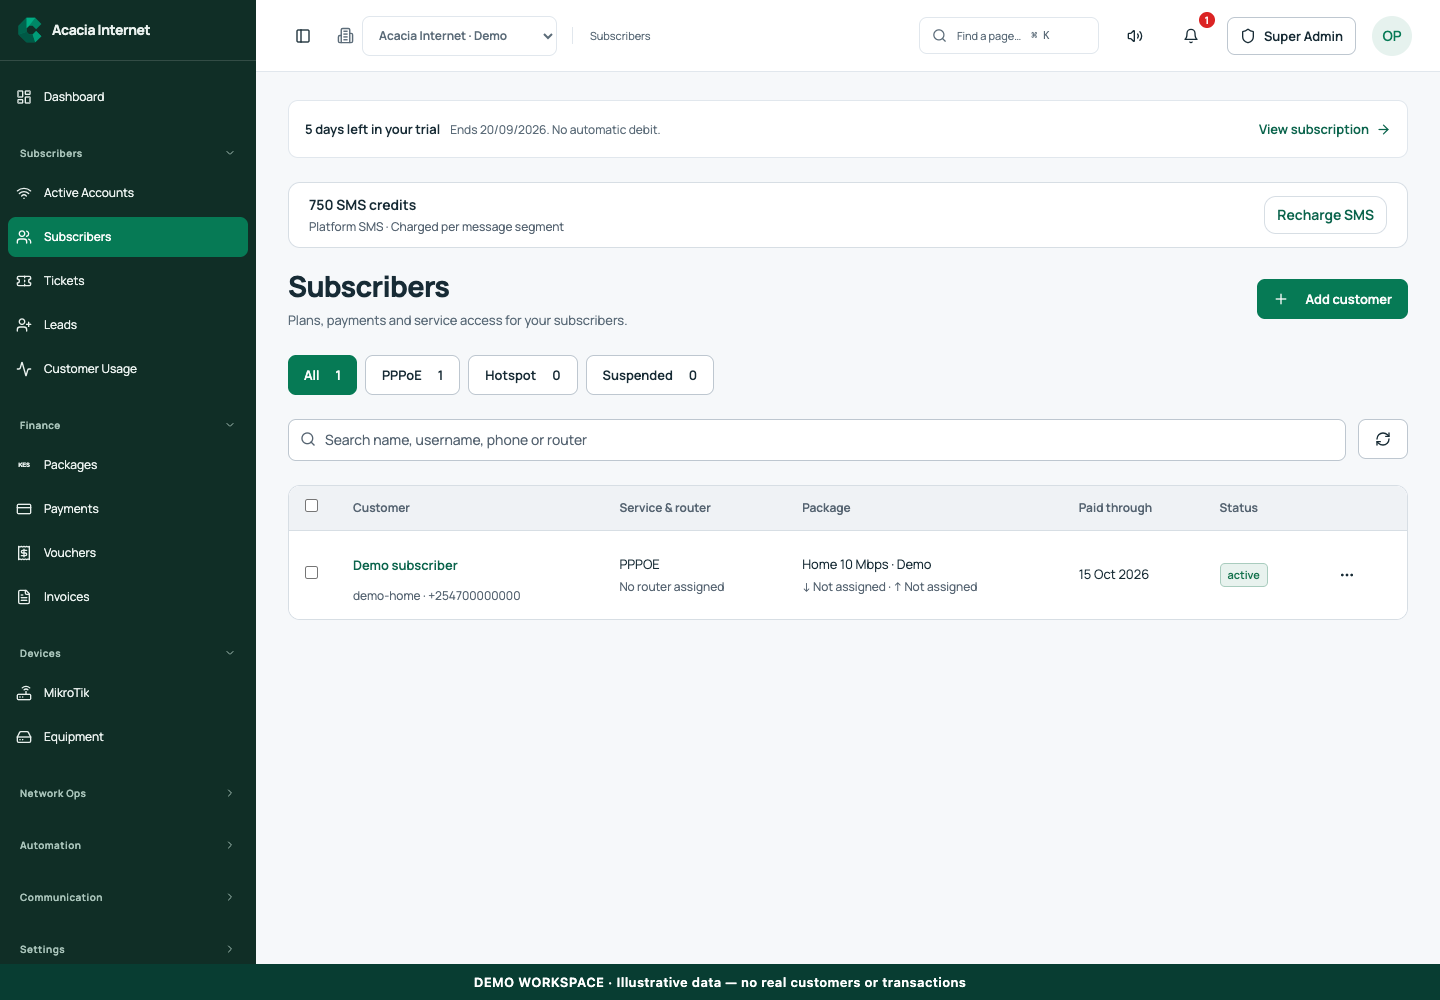
Open /users in the workspace you intend to manage. The workspace name determines which routers, subscribers and records you can see. These screenshots use Acacia Internet, a fictional training workspace. Names, phone numbers, addresses, account counts and money shown are demonstration data; do not copy them into a live customer record. Your available controls depend on your role, plan and configured integrations.
1. Open the subscriber form and enter contact details
Choose Add customer and complete the Basic details section. Enter the customer’s real name and a reachable phone number; include email when appropriate for that customer and communication workflow. The guide screenshot uses a fictional subscriber. Confirm contact spelling before welcome messages are sent, because incorrect details can disclose account information to the wrong recipient.
2. Choose PPPoE and the serving router
In the Service section, select PPPoE as the access type and choose the MikroTik that actually serves the customer. This assignment should reflect the physical network path. Do not select a router simply because it is online if the customer is attached elsewhere. A customer record in one workspace cannot be used to administer another workspace’s equipment.
3. Assign an available package
Choose a package matching PPPoE and the selected router. If an expected plan is absent, inspect its active status and router availability on the Packages page. Read the package’s speed, cycle and price before proceeding. Creating a duplicate plan to bypass a missing assignment makes the catalogue harder to reconcile and can leave the customer on an unintended tariff.
4. Set and protect connection credentials
In the Credentials section, enter or review the username and password required for the subscriber service. Use the password visibility control only when needed and avoid photographing or sharing the credential screen. Save credentials through the intended customer delivery process. An internet access password and a portal login flow may differ; explain each to the customer instead of assuming one successful login proves both.
5. Review account status and dates
Review the paid-through date and its displayed UTC timezone, account status and installation details. A date entered manually should have an authorized business reason and appropriate payment record where money was received. Do not mark service paid merely to dismiss a warning. Check the renewal policy and any customer notes your support team needs before saving the record.
6. Save, verify provisioning and test the customer portal
Save the customer, then open the subscriber details to inspect service evidence and synchronization status. Configure the customer-side PPPoE client with the approved credentials and check the observed session. Separately open the customer portal login page and complete its supported verification process. Confirm the customer can see their own subscription and renewal options without exposing another subscriber’s information.
Confirm the result
The subscriber should appear under PPPoE with the intended package and router. Router-confirmed provisioning and a successful customer connection provide stronger evidence than an active label alone. Confirm the welcome communication was accepted by its delivery service and ask the customer to complete portal sign-in before the technician closes the installation.
Questions and troubleshooting
Why is an account pending activation? Payment, entitlement or router confirmation may still be incomplete. Inspect the detailed status. Can I change the router later? Review the destination package availability and the old service removal before moving a live customer. Does registration guarantee a delivered welcome email? No. Valid contact details, notification preferences and a ready sender are also required; inspect delivery records.
Continue with the next task
Continue with customer portal access and manual payment recording.
This guide describes the application reviewed on 15 September 2026. If a screen displays a warning, follow that specific message before continuing. For support, include the workspace, affected record, time of the attempt and the operation reference where available. Never include passwords, router command tokens, payment secrets or verification codes in a public support message.